Are you ready to make something move? At Jimi Technology Co., Ltd., we help you do just that! Linear actuators turn electricity into straight-line motion. Need to push, pull, lift, drop, or tilt at a button’s press? We’ve got you. Whether you’re building a TV lift, an industrial robot, or smart home gear, we’ll show you just how easy it can be when you use our expert tips. Let’s walk through each step—safe, smart, and simple!
Why Does Actuator Installation Matter?
Do you want your machines to work fast, quiet, and for a long time? You need the right setup. Even missing one step can make your actuator not move, buzz, overheat, or even break early! Wrong wiring alone causes over a third of all first-run problems. Bad mounting can cut your actuator’s life in half. Done right, you’ll save up to 30% on future repairs and enjoy smooth, strong motion.
So what should you do? Follow these 10 steps and you’ll be in control!
Step 1: Plan Your Project & Gather What You Need
List out your needs. Ask:
- How much force do I want?
- How fast should it move?
- How far should it go (stroke length)?
- Will it run all day (duty cycle)?
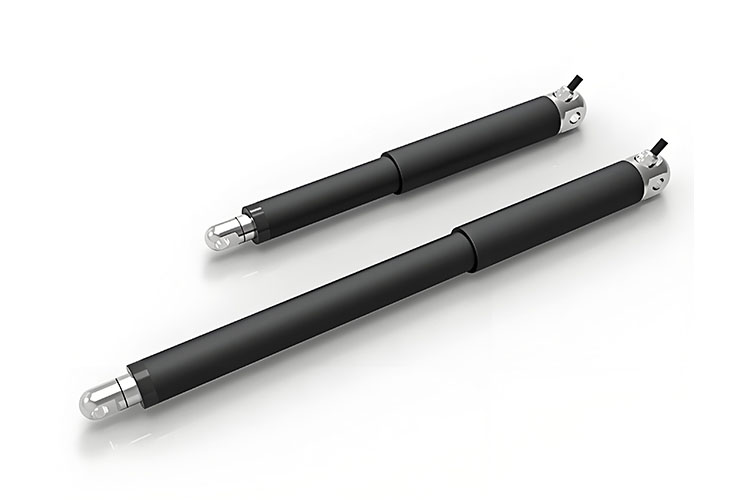
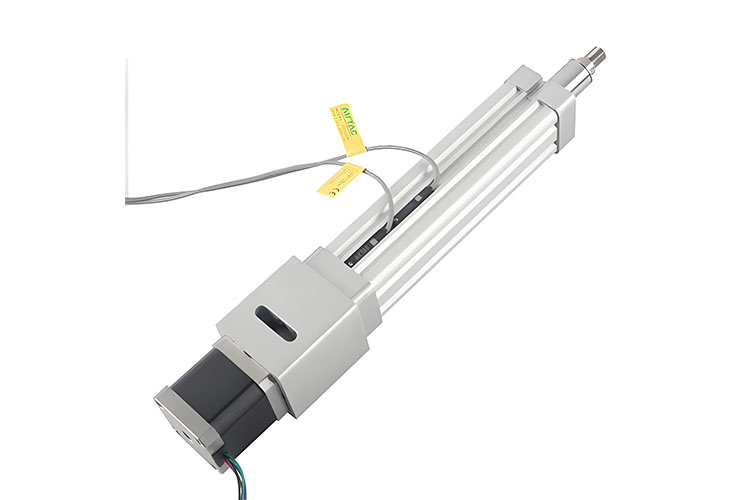
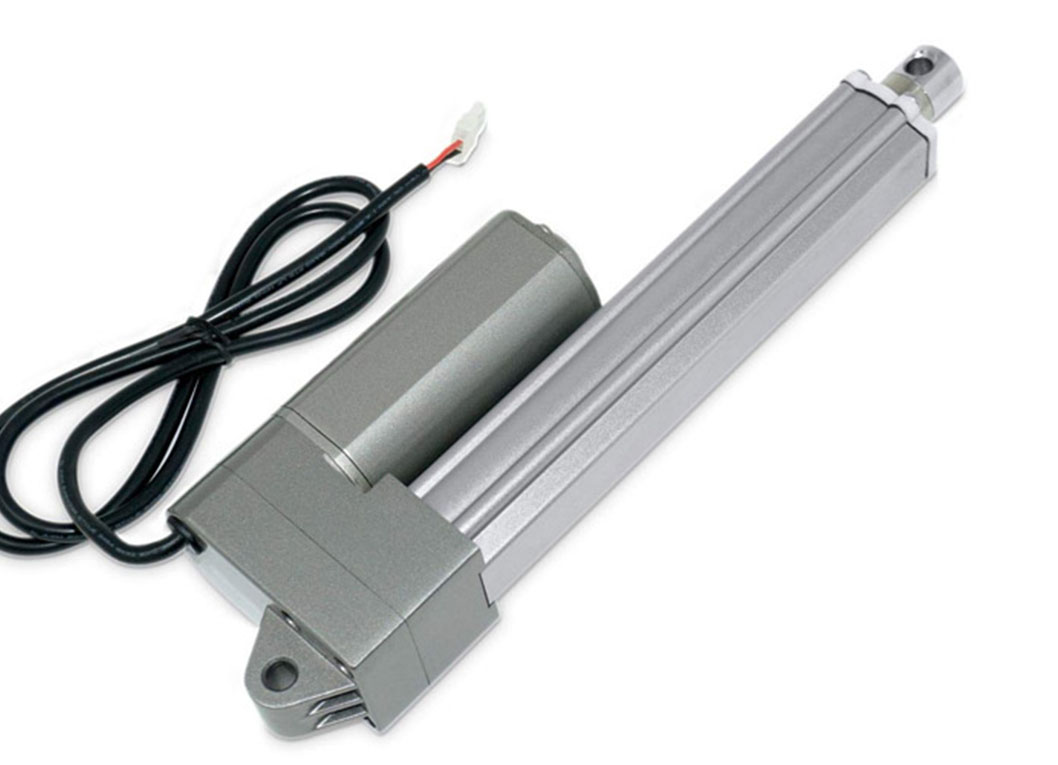
Pick your linear actuator, power supply, and controller based on these answers. Choose from Electric Linear Actuators for simple projects, or Ball Screw Actuators for heavy lifting.
Gather these tools and gear:
- Wire gauge and wiring harness
- Multimeter
- Screwdriver set
- Wrenches
- Electrical tape
- Mounting brackets
Don’t forget your safety glasses! At Jimi, we supply everything—from actuator controllers to mounting brackets—to meet your specs.
Step 2: Inspect and Test Before You Start
Open your new actuator and check it for cracks or dents. If it looks good, do a bench test:
- Give it power using a safe power supply (12V or 24V DC works for most units)
- Briefly extend and retract it
- Watch for humming or binding
If it won’t move, double-check the wiring diagram and make sure the polarity is right.
Step 3: Prepare the Mounting Spot
A solid base is a happy place!
- Make sure your surface is STRONG
- Mark accurate mounting points with pencil or tape
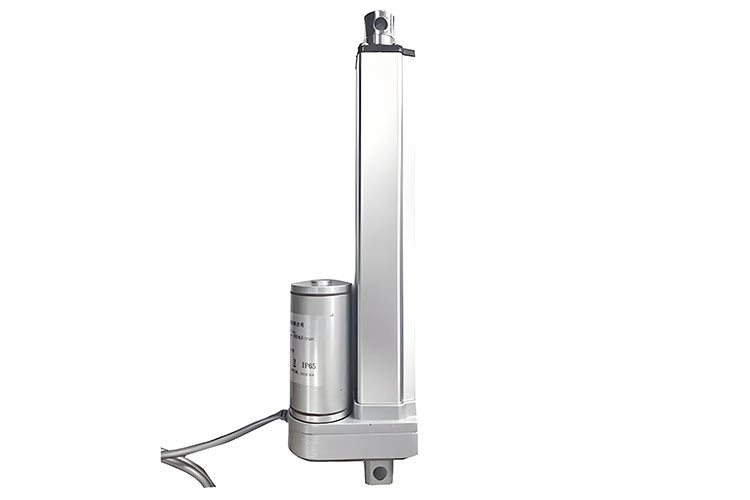
- Look out for dust, water, or wild temperatures—choose Waterproof Linear Actuators if needed
Tip: Bad mounting leads to binding and safety issues 15% of the time. At Jimi, our products come with full IP ratings for every job.
Step 4: Mount It Right
Use the right mounting brackets and tools.
- Attach the actuator with screws and wrench
- Keep it straight! Misalignment means trouble down the line
- Check for smooth motion, no extra strain.
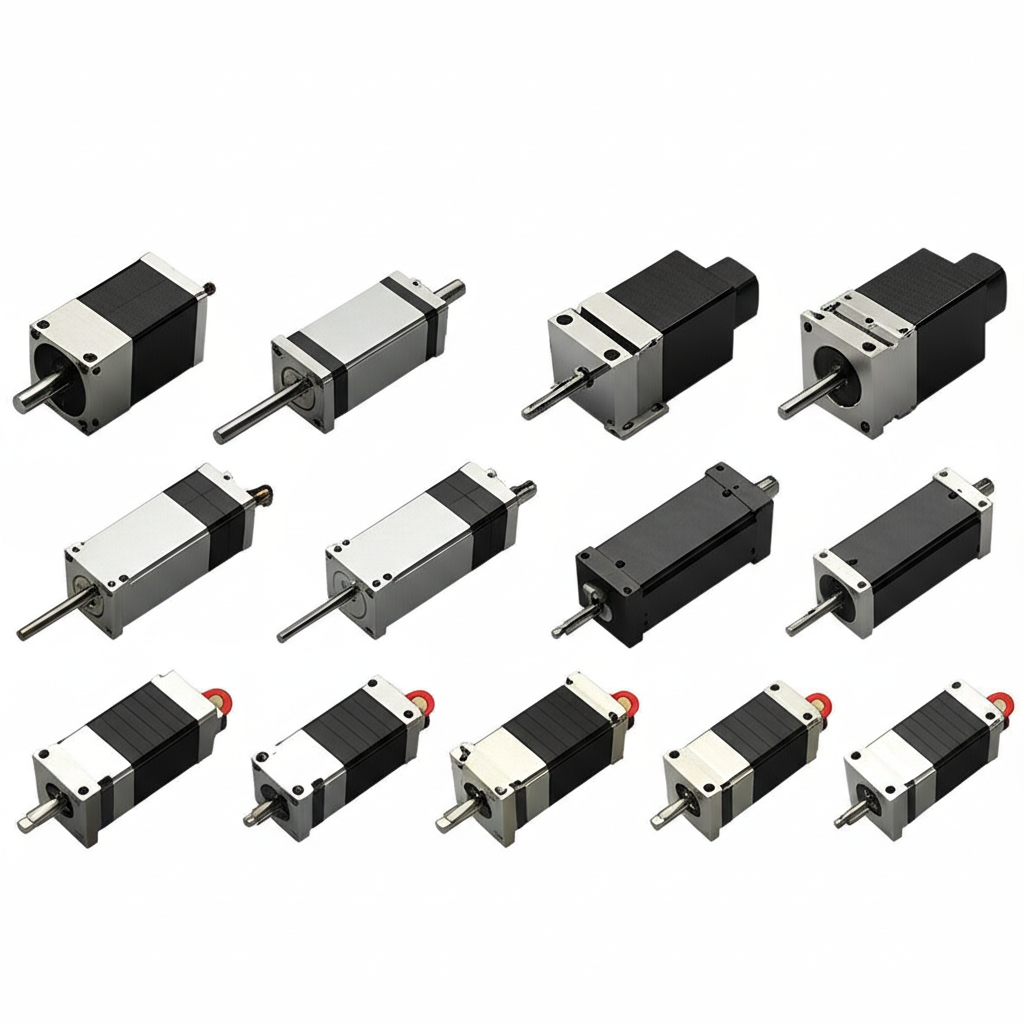
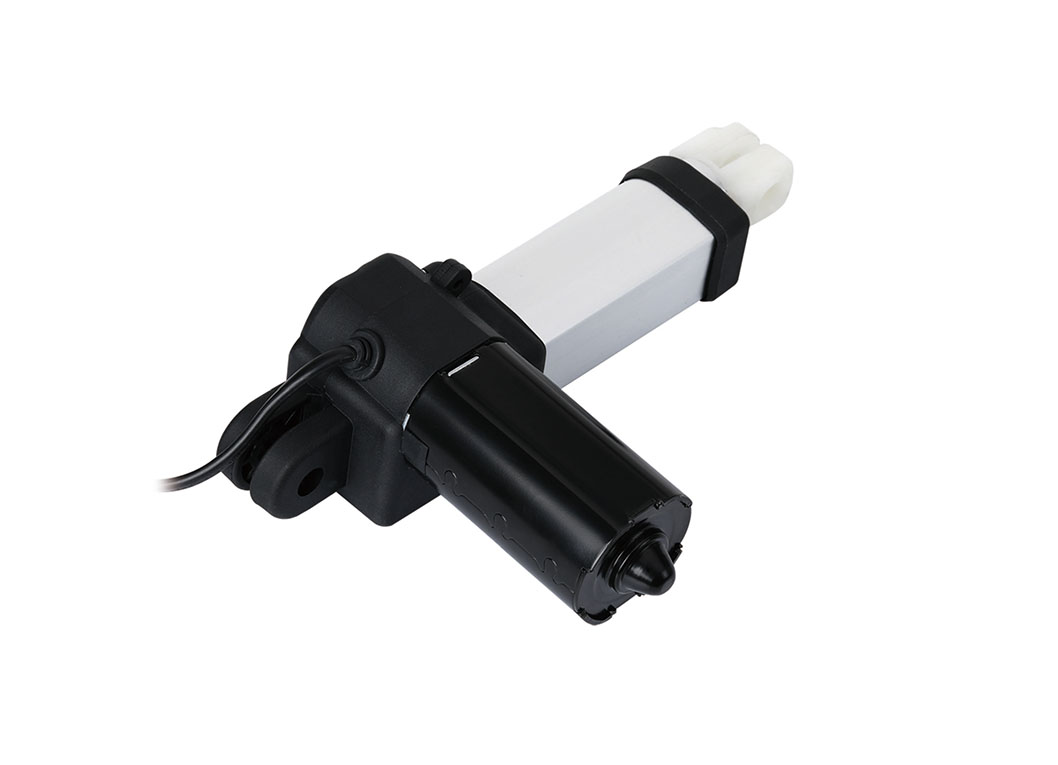
If you’re building something big—like solar panels or heavy equipment—see our Industrial Linear Actuator options.
Step 5: Wire Up Like a Pro
Let’s make every wire count!

- Find the power leads—positive and negative
- Connect ground wire carefully
- Wire to an H-Bridge, relays, or straight to your controller
- Hook up internal or external limit switches (they stop it from over-running)
- Double-check with your multimeter and datasheet
- Use tight electrical tape and soldering iron if needed
Expert tip: Over a third of start failures are wiring-related. Take your time!
Step 6: Power Up & Set the Limits
Now comes the fun part:
- Turn on the power (carefully!)
- Extend and retract the actuator.
- Watch for full range movement—listen for odd noises
- Adjust the limit switches so it doesn’t go too far and jam
Limit switch calibration trips up 60% of engineers at first. With Jimi actuators, clear indicators make this step a breeze.
Step 7: Connect and Test Under Real Load
- Add your PLC or Arduino control for smart motion
- Apply the real load (table, TV, door, or other machinery)
- Test again: is it smooth?
- Use potentiometer or hall sensor feedback to check position detection is accurate
If it’s not running as planned, don’t worry—we’ve got you covered.
Step 8: Debug Common Issues
Does your actuator:
- Not move?
- Only makes noise?
- Move, but badly?
- Get hot?
Let’s break it down:
| Problem | Check |
|---|---|
| Not moving | Power, fuses, wiring continuity, actuator overload |
| Humming/buzzing | Mechanical binding, overload, wrong voltage |
| Erratic movement | Power supply fluctuations, control signals, poor connections |
| Overheating | Duty cycle, load, ventilation |
| Limit switch problem | Wire errors, switch adjustment, sensor health |
Thirty percent of all debug time gets eaten up by checking wiring continuity, power supply issues, and mechanical binding. Jimi actuators make all this straight and simple.
Step 9: Advanced Debugging — The Pro’s Way
Don’t just guess—test like a pro with these steps:
- Use a multimeter to check voltage, current, and wire continuity
- Test sections one by one to find which part fails
- Read the full data sheet and troubleshooting guide (we provide these for free!)
- Look for stuck parts or physical damage
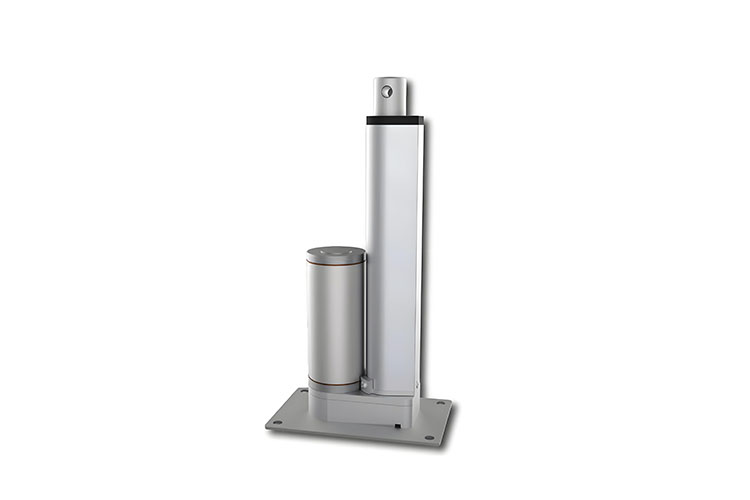
If you find trouble, call us or check out our Actuators with Position Feedback for more diagnostic help.
Step 10: Final Check, Care & Optimize
You’re almost done!
- Calibrate for just the right motion
- Start a regular schedule for cleaning, lubrication, and safety inspections
- Shield the actuator from dust or water with proper enclosures
- Plan ahead: keep a checklist for future checks
Numbers prove it:
Proper install and care gives you 25% less unscheduled downtime and 30% lower maintenance cost.
All 10 Steps — Let’s Review
| Step | What To Do | Why It Matters |
|---|---|---|
| 1 | Plan & gather tools | Right parts, right job, no missing steps |
| 2 | Inspect & test | No bad parts, no surprises |
| 3 | Prep your spot | Safe, sturdy, lasts longer |
| 4 | Mount it right | Stops binding, prevents damage |
| 5 | Wire up carefully | Prevents most failures and downtime |
| 6 | Power up & set limits | Full range, no overtravel, avoids jams |
| 7 | Test with control & load | Checks real-world problems, ensures smooth action |
| 8 | Troubleshoot clearly | Quick fixes mean less time lost |
| 9 | Advanced checks | Solve tough issues with pro tools |
| 10 | Ongoing care & optimize | More uptime, less cost, safer operation |
Jimi Technology: Your Best Partner
You want easy answers, strong parts, and expert help. At Jimi, we’re more than a China Linear Actuator Manufacturer—we are problem solvers, teachers, and friends in the automation world. We design, test, and deliver top automation systems with smart features and safety built in.
See what makes us stand out:
- High-tech factory and strict testing
- Full support for wiring, mounting, and setup
- Top electric actuators for every need
- Reliable power supplies and controllers
- Clear manuals, easy diagrams
If you are working on something special, look at our Servo Linear Actuator Factory page for custom jobs. For more ways to connect actuators to smart systems, our Actuator Controllers guide you step by step.
Take Your Project from Start to Finish
You want quick, safe, lasting motion.
You want the best.
You want Jimi.
Start with us. Stay with us. Move with us!
References:
- Industrial Automation Survey, 2022; Actuator Manufacturer Report, 2023; IoT & Smart Factory Study, 2021; Automation Engineer Poll, 2023; Workplace Safety Database, 2020-2023; Facilities Management Analysis, 2022; Technical Support Logs Analysis, 2023.